
- My Roles: Researcher, Writer, Graphic Designer, 3D Artist
- Tools: Markdown, HTML, CSS, JavaScript, Nimbus Capture, Gimp, Blender
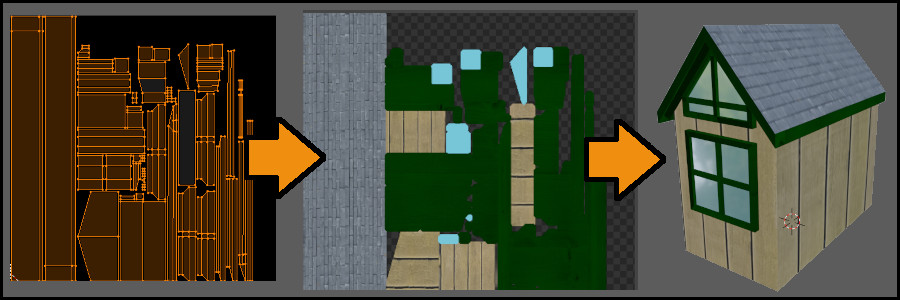
Blender is a fully-featured, open source 3D modeling program targeted toward 3D artists. This "How-To Guide" covers the process of taking the materials applied to a model and creating a Texture Atlas from them. Texture Atlases are image files that contain all of the texturing needed to cover a model. Typically models require multiple textures which can result in needing a large number of image files. Using texture atlases greatly reduces the resources needed to display the model and is often required for using real-time rendering tools.
Creating texture atlases was something that I had wanted to do for some time with my hobby projects, but I struggled to find clear instructions for how to do this. I chose to create this guide because I would have saved hours of research if I had something like this beforehand.
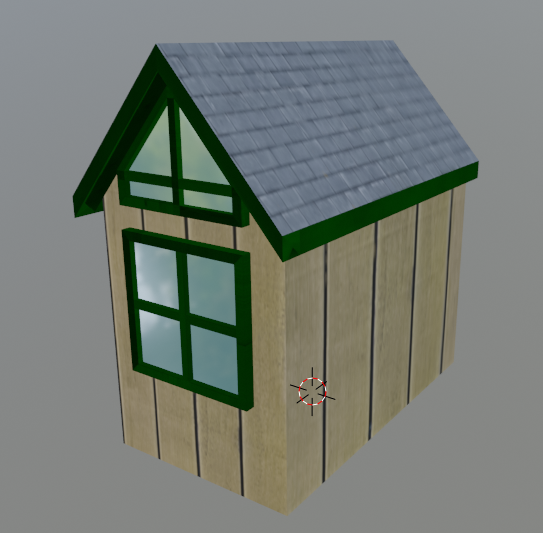
My first step was to create a sample project to use for illustration purposes. I created a simple 3D model using Blender and saved a copy of the project that could be shared for users to be able to follow along with while reading the guide. I chose to omit the process of creating the starting model from the guide to keep the amount of information in a more manageable chunk (this process already requires several steps). Therefore, the audience would be users who already have some foundation in the program and can apply textures in a more basic way.
As I continued through the process of creating a texture atlas, I documented each step and used Nimbus Capture to take screenshots of various menus, icons, and the expected results at various steps. For some of these images, I used Gimp to add shapes for extra emphasis and combined images to make the introductory image that provides a visual of the overall process. I then used Markdown to draft the guide with basic formatting. Blender's interface can be overwhelming, so I was careful to include icons of different buttons and panels within the text whenever possible. Bold text, blockquotes, and lists also helped to keep the information organized and focus the user's attention on essential details.
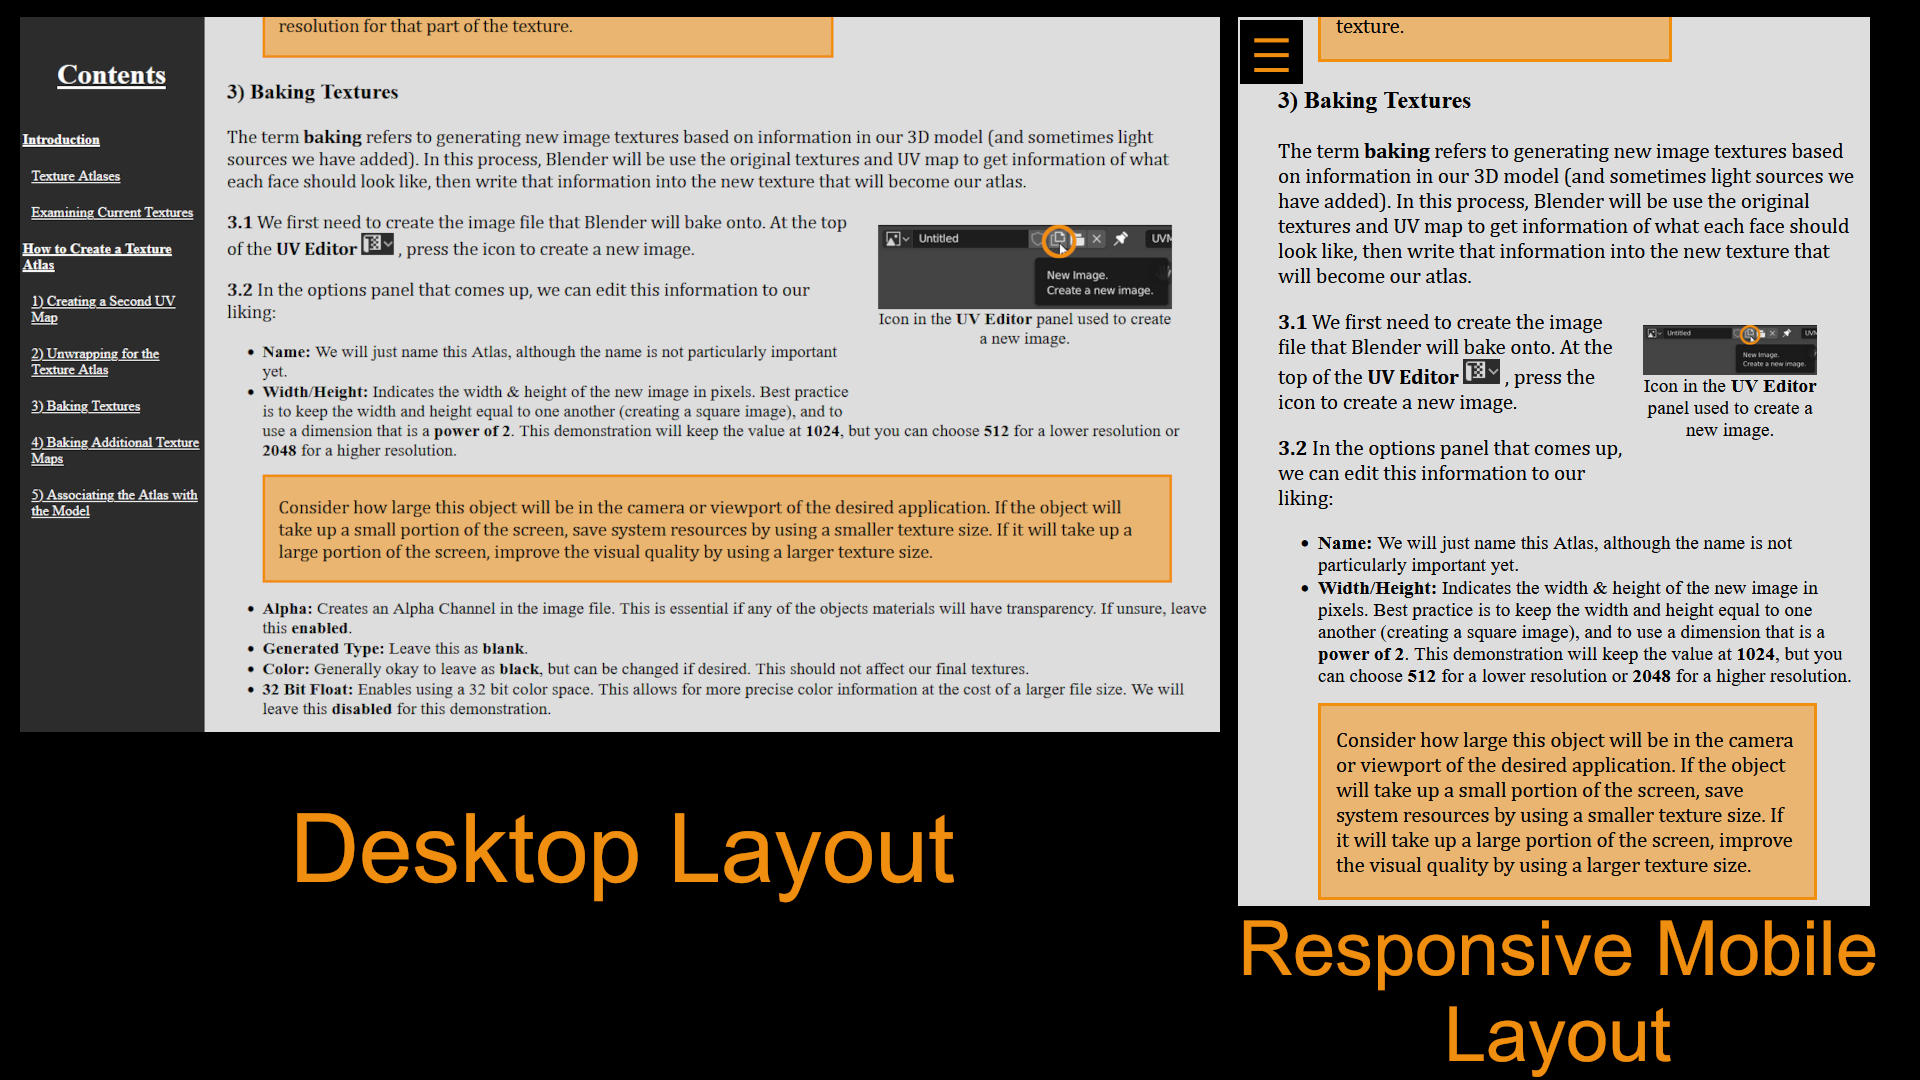
When considering the best way to publish this guide, I decided that it was best suited to a web page. If this were documentation for a client, it would likely be hosted on their help and support website. I exported the markdown file to HTML and added some more sophisticated formatting. To allow the user to easily jump to different sections, I created a sidebar with a hyperlinked table of contents. The sidebar is responsive, so when viewed in a small window or on a mobile device, the sidebar will collapse. I then created a menu button and used a simple JavaScript file to allow the user to expand or hide the sidebar.
I wanted this project to showcase my ability to take a large instruction set and create a guide that is easy to understand and follow along with. I also focused on using visuals to add extra context to the instructions and clarify steps that still may be confusing. My greatest challenge with this project was parsing the information down so the guide didn't seem overwhelming. I feel like I could have added even more text, and I had more images ready to add, but having too much information can be detrimental when the goal is to make a process as easy to understand as possible.